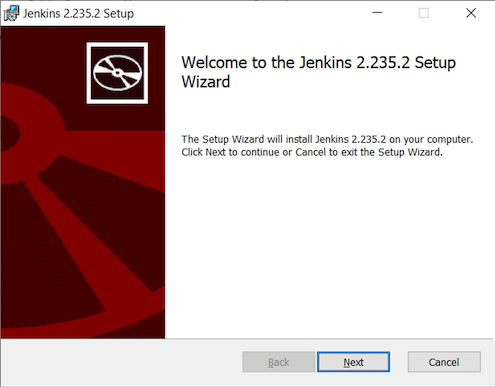
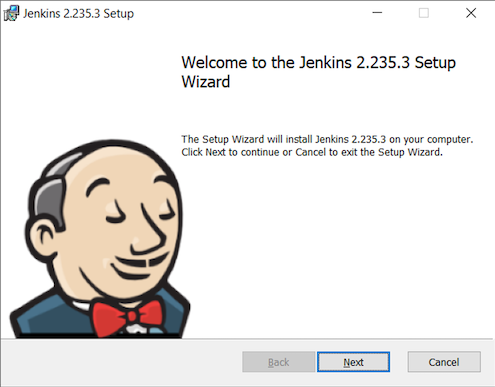
This article describes the transition from the old Jenkins Windows installer 2.235.2 (32 bit) to the new Jenkins Windows installer 2.235.3 (64 bit)
Let’s take a look how Jenkins installation on Windows happened before release of this upgrade.
Step 2
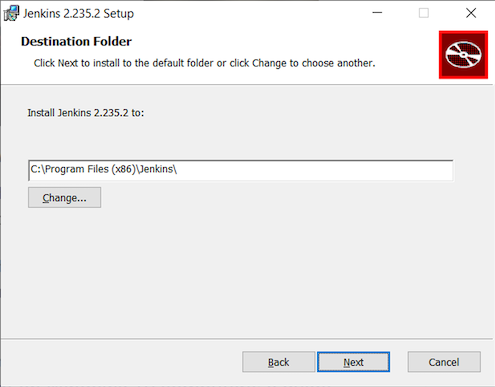
Jenkins would be installed into the 32 bit programs directory along with a 32 bit Java 8 runtime environment.
Step 3
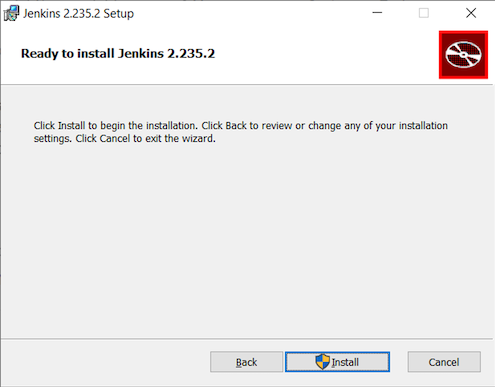
There was no option to select the user that would run the Jenkins service or the network port that would be used.
Issues
The previous installer had issues that needed to be resolved:
-
Only supported 32-bit installations
-
Bundled an outdated Java 8 runtime environment
-
No support for Java 11
-
No port selection during installation
-
No choice of account for the Jenkins service
-
The
Program Files (x86)directory was used for the Jenkins home directory
Road Forward
The new Jenkins Windows Installer resolves those issues
-
Supports 64 bit installations and drops 32 bit support
-
Supports 64 bit Java 8 and 64 bit Java 11
-
Port selection and validation from the installer
-
Service account selection and validation from the installer
-
Program is installed in
Program Fileswith Jenkins home directory in%AppData%of the selected service account -
The JENKINS_HOME directory is placed in the LocalAppData directory for the user that the service will run as, this aligns with modern Windows file system layouts
-
The installer has been updated with branding to make it look nicer and provide a better user experience
Screenshots
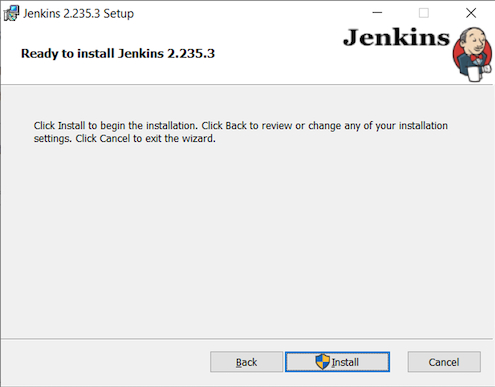
You may see below the sequence of screenshots for the new installer:
Step 2
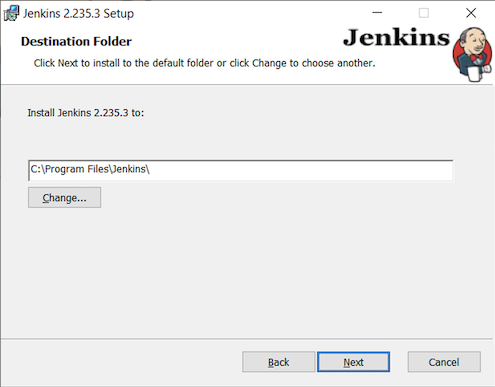
Jenkins installs by default in the 64 bit programs folder rather than in the 32 bit folder. Now the Jenkins logo and name are in the header during entire process of installation.
Step 3
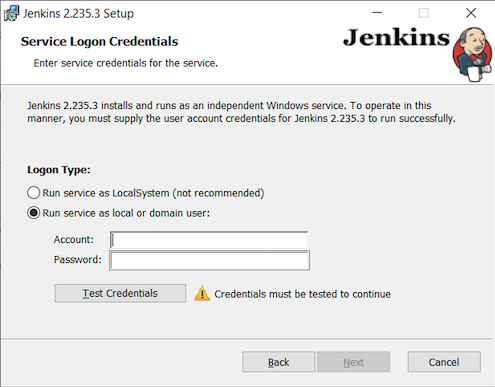
Now the installer allows both specifying and testing the credentials by validating that the account has LogonAsService rights.
Step 4
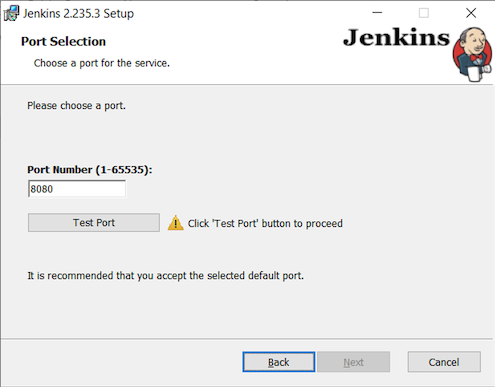
Now the installer also allows specifying the port that Jenkins should run on and will not continue until a valid port is entered and tested.
Step 5
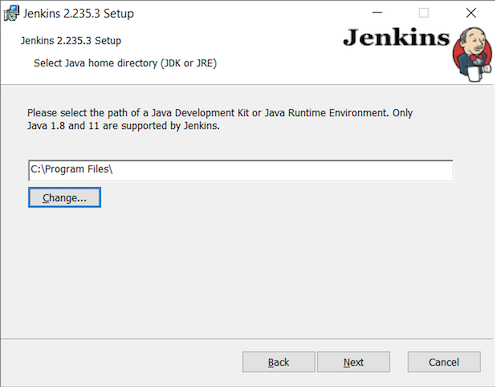
Now instead of bundling a JRE, the installer searches for a compatible JRE on the system (in the current search no JRE was installed). In case you would like to use a different JRE from the one found by the installer, you can browse and specify it. Only Java 8 and Java 11 runtimes are supported. In case the selected JRE is found to be version 11 the installer will automatically add the necessary arguments and additional jar files for running under Java 11.
Next Steps
Windows users have alternatives for their existing Jenkins installations:
- Upgrade from inside Jenkins
-
The "Manage Jenkins" section of the running Jenkins will continue to include an "Upgrade" button for Windows users. You may continue to use that "Upgrade" button to update the Jenkins installation on your Windows computer. Upgrade from inside Jenkins will continue to use the current Java version. Upgrade from inside Jenkins will continue to use the current installation location.
- Upgrade with the new Jenkins MSI installer
-
If you run the new Jenkins MSI installer on your Jenkins that was installed with the old Jenkins MSI installer, it will prompt for a new port and a service account.
-
Stop and disable the existing Jenkins service from the Windows Service Manager
-
Run the new installer to create the new installation with desired settings
-
Stop the newly installed Jenkins service
-
Copy existing Jenkins configuration files to the new Jenkins home directory
-
Start the newly installed Jenkins service
-
After the new Jenkins MSI installer has run, the "Manage Jenkins" section of the running Jenkins will continue to include an "Upgrade" button for Windows users. You may continue to use that "Upgrade" button to update the Jenkins installation on your Windows computer.
